Showing posts with label diy. Show all posts

23 January 2013

Sunday Funday DIY


 In high school, I could get down with a can of spray paint.
 
And by that, I obviously mean every fall for our homecoming float competition. The smell of spray paint still inevitably reminds me of October evenings, where I’d make the mad dash from cross country to somebody’s barn, where we’d spend hours decorating a flatbed themed around something like Noblesville Schmoblesville.

But, since then, I’ve lost touch with it. That is, until this weekend. Growing up, we had these Adirondack chairs on our front porch. When I moved to Atlanta, I was fortunate enough to bring two of them with me. During the last two years, though, the white washed beauties have become anything but.


See? Sad city.


This weekend I decided the chairs needed a new coat of paint for the new house. After scrubbing them down, I quick dry spray-painted them in about 10 minutes. It would have been faster had I not run out of paint and had to dash up the street to Ace Hardware to buy three more cans. Who knew one can had so little paint?

 Let me tell you, this is a DIY that speaks my language. And by that, I mean quick to complete, minimal detail orientation and instant gratification.

Those high school float days never did spray paint justice. The stuff is magical!

Ta da!:

29 November 2012

get get get it poppin

My relationship with holidays is like this: I have a serious obsession leading up to it, am on cloud nine the day of the holiday, but then following it, I am totally, completely done with it. Once New Year's Eve is over, I'm ready for spring. Out with the pine scented candles, in with the blossoms and beaches.
But the great thing about Thanksgiving > Christmas > NYE, is that they can all blur together in one beautiful season, during which time we can just love holiday living for two full months.
So, although Thanksgiving is long over, I thought I'd share these pie pops my parents and I (sort of not really that much) made.
The vision was my mom's - she saw the recipe on the Today show and immediately bought all of the tools to make them. Check it out below for the steps (full tutorial) - they were a big hit - and you should definitely make them for a party sometime between now and New Year's. But definitely not after - unless you make them spring themed, of course.
L to R: Soak sticks over night (if you use bamboo version), then pat dry.
Roll pie crust thin - 1/8 inch, then cut out small pie crust shapes.
Lay first crust on a wax paper covered pan.
Add dallop of filling to each one - then lay the pop stick in the middle of the pie.
Cover pie with the other crust side.
Use extra lollipop stick to crimp sides.
Dust top of each one with egg so they don't crack while baking.
Bake at 350 until golden brown.
And enjoy :)

PS: Don't let the speed of this tutorial fool you - they're a little time consuming once you get into it. But well worth it!

20 November 2012

pat your weave


I've expressed my feelings about DIYs before, but in case you missed it, let me refresh you. I think DIYs are awesome during the planning and supply purchasing phases. But once the actual D-ing starts, I tend to lose interest. Unless the projects are 30-seconds or less, they are normally too long. I like to think of myself as an excellent DIY delegator. But not so much an executor.
Courtney and Ashley, on the other hand, tend of have a higher skillset and level of patience for such projects, and, being ever so inclusive as they are, allow me to participate in their craftiness.
This weekend was no exception.
Saturday, Ashley busted out in a rocking necklace, which, it turns out, she made. Yep. She rules.
So, Sunday afternoon, we thought we'd try our hand at finger weaving. She turned t-shirts into yarn (for real) and then let us use it to make bracelets. Apparently a lot of little kids do it, so Ash thought we could handle it. I had a few struggles, including a loss of circulation for pulling too tightly and not unweaving at the right time, and having to start over once (or twice), but all-in-all, I'd say the task was a success.
And, as your DIY delegator, I feel it my duty to provide instructions. So check out V and Co's tutorial, which is exactuhly how Ash taught us to make them, and go forth with braceleting vigor. It's your charge.

29 May 2012

table 2.0

I don't think it's been lost on any of you that my family is a group of do-ers. There's never a lot of sitting going on and last weekend was no exception.

My mom has excellent taste and can visualize what any room needs (seriously). Within hours of arriving at my house, she'd taken one look at our chairless table and figured out exactly what kind it needed.
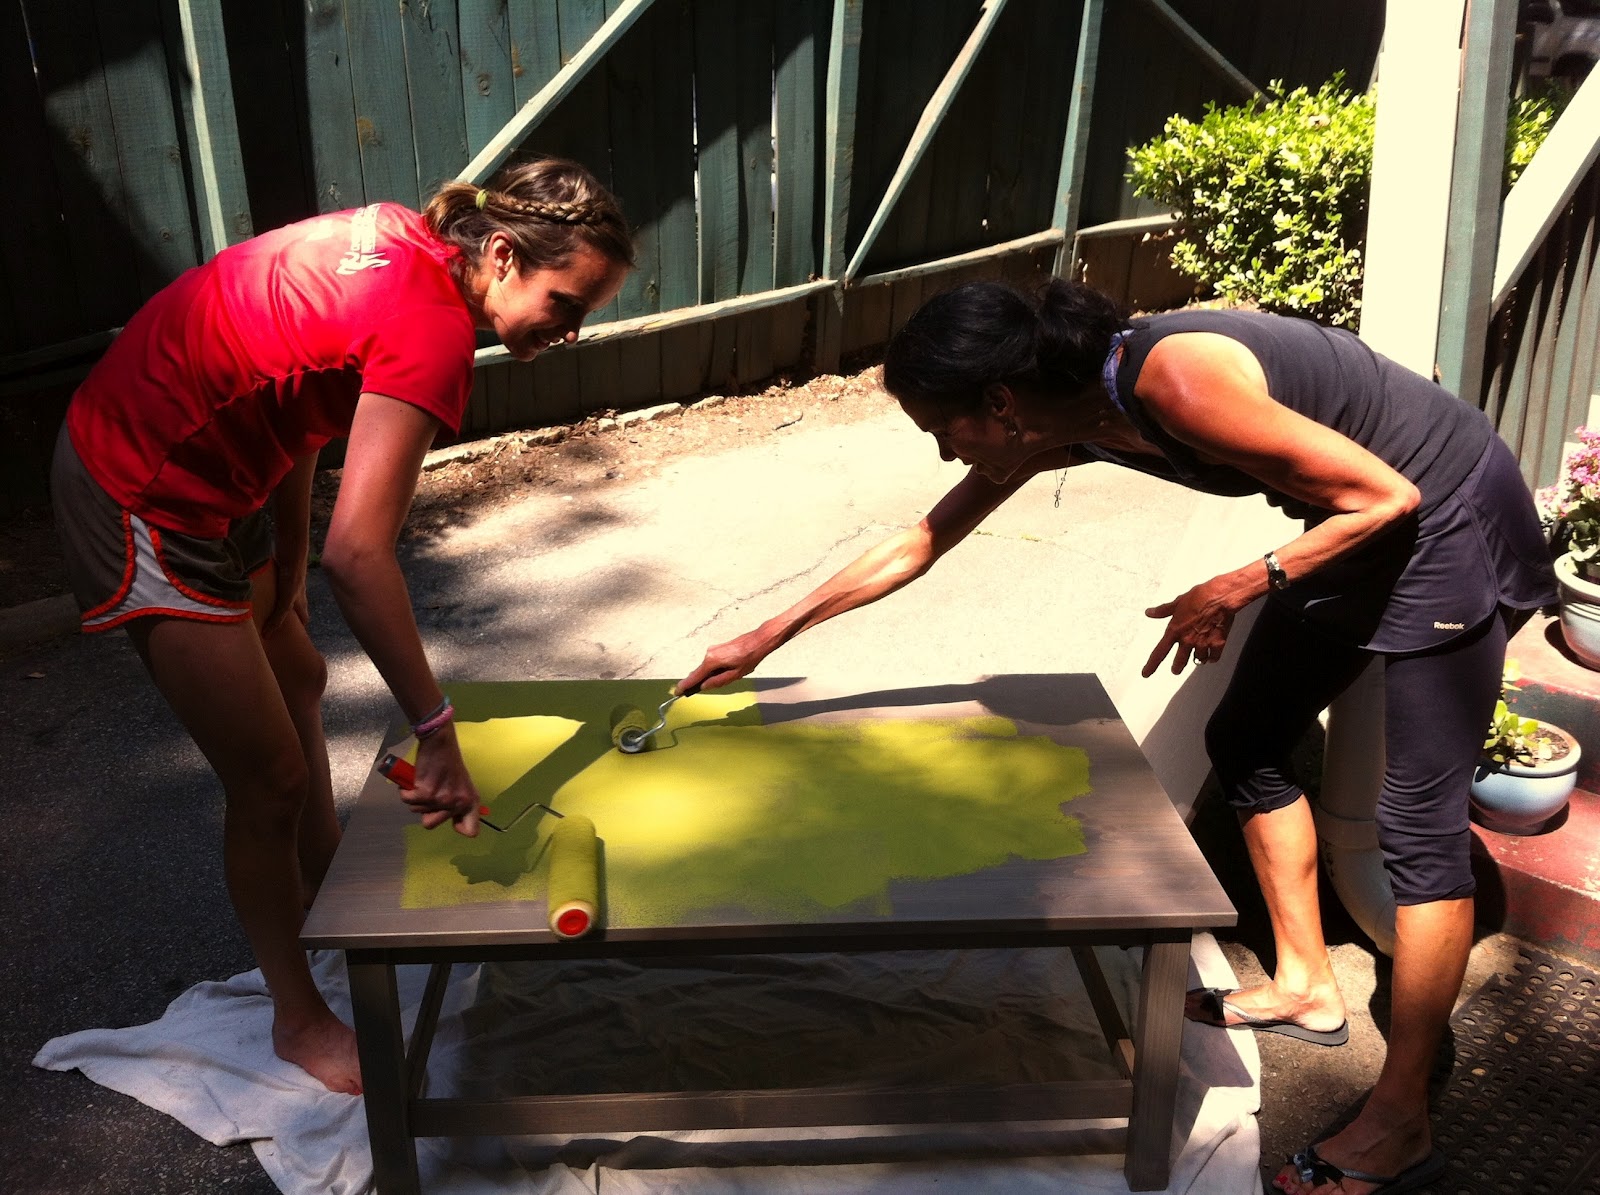
From there she took on the coffee table - turning it from greyish-brown to green in no time.
Muff efficiency at its finest: pouring the paint onto the table.
Duke, providing moral support. 
Tada!

16 April 2012

making our house a home

This is the story about a lonely wall.
And a little piece of wood Katie got for free at the Home Depot.
She stained the wood and we put a few nailskis in it.
Then we put it on the wall, which was a whole lot like the blind leading the blind, mainly when Katie said, "we need one of those measuring sticks." (read: tape measurer)
Then we popped our aprons up on it.
(&it fell one time)
But the second time, it stuck.

And our lonely wall became our happy wall.
The end.

PS: Double DIY weekend. Stay tuned for another project.
PPS: Check out the cutie birdhouse Katie painted. Labor of love.
PPS: And that's how Sunday becomes Funday at 10 p.m.

13 April 2012

the grass is greener

My mom definitely wins the award for the best Easter baskets ever. Check out her handiwork below.

When I was home in March, she told me she wanted to grow her own grass in the baskets she and my dad were making for the grand babies.

And so, the project started here:
We celebrated Easter in Hilton Head, and she and my dad transported the lovely buckets to the island.

Check out the final products below.

How much cuter are these than plastic grass filled baskets? Not to mention eco-friendlier, safer and way happier.

Ten points for Muffy.

20 December 2011

confessions of a [non]DIYer

I like to think of myself as crafty. I don't, however, like to think of myself as someone who is in denial, and unfortunately, you can't have one without the other. Crafty I am not.

The real issue is that I have minimal patience for crafts. I'm interested in most projects for approximately 12.5 seconds, at which point I begin slopping it together so I can call it complete. It is one of the many, many traits I received from my mom and can be seen most clearly through the cabinet we repainted.

That being said, yesterday I made a Christmas ornament and was very [probably too] proud of the finished work.
We decoupaged styrofoam balls with cut up books, then added ribbon and a pearl pin (wha?).

Did I get panicked mid-project when my hands were covered in mod podge, which was also in my hair, and I realized the entire table was a mess? Absolutely. Did I attempt to pour the glue onto the styrofoam ball in order to speed up the process? Of course. And did I do a second one when everyone else did? Definitely not. But who needs a pair of ornaments when you have one happy little guy to hang on your tree?

I named the finished work Penelope and hung her on an aloe plant at work...
Now I can stare at her all day long, while I dream of aloe-ish months. Straight bliss, my friends!

30 August 2011

DIY love heardboard: when the Biber's vacation

My parents came to visit this weekend and because I'm running a (secret) campaign to get them to migrate south, I wanted to impress them with Atlanta. Sure they've been here quite a bit, but for some reason I was on a mission to have a jam-packed itinerary with nonstop funness.

My list of options included brunch at Murphy's (one of my fav spots), shopping in the Highlands, the Atlanta Botanical gardens, Corks and Forks, a beer festival, a barbeque festival...and more.

I should have put money on it, though. Instead of choosing one of these relaxing activities, they had to take on a challenge. They're doers. And because I threw it out there at the end, "or we could try building this headboard I've been wanting to make..." they were ret to DIY.

My dad swears I Tom Sawyered him by saying things like, "you're so much better at things like this than me" and "Maybe you could just show me how to do this to get me started", but I don't really recall these things...

And besides, he is much better at things like this than me.

So, without further ado, our headboard project inspired by House Tweaking...

Essentially, we followed the same steps she did, except after digging around in salvage yards and some private property (where we got caught by the owner) we realized we didn't have the Atlanta awareness to know where to find old wood.

So instead we bought regular wood, which might not be quite as intense as farm wood, but hey, we're not in Indiana anymore.


From there, my dad white washed and sanded the wood to make it look rustic. He had the best luck when he spit on the section prior to sanding it - it gave it a much more authentic look.

He then used smaller slats of wood to hold them together...


My mom and I stood on each piece to make sure it didn't move...
And we used quarters to make sure the distance between each slat was equal.
And then I wrote love on it, because who doesn't want to sleep in a bed full of love every night?
Ta da....
It's all very exciting, seeing as I've been lusting after this love board since December.

You might notice that it appears that I left the D in this DIY up to my parents and, aside from taking pictures and writing love, you are correct. Which is why I wouldn't advise doing it unless you know, or have someone who knows, a thing or two about drilling, mounting and tooling to help you. For example, the original measuring was up to me and I accidentally thought the headboard needed to be 74, not 62, inches wide. I've never been one for measuring...

Needless to say, I certainly could not have mastered this project without my parents.

28 January 2011

headboard love

I'd really like to have a headboard for my dear bed, but all of the ones I like tend to be slightly out of my budget.

This headboard has me wondering if it's really DIY, or if I'd wind up feeling the way I do when I try to make one of Martha's DIY projects (a jigsaw...?).

It's so cute and doesn't look that that difficult. At the very least, I know I could handle writing love on it...

Is it too beachy for my abode?